Biting edge (incisal edge)
The incisal edge is the narrow edge of a front tooth. It is used to bite off food.

Dentistry in 3D
Rotate an incisor, explore an implant in the upper jaw and compare a veneer, a crown and bridges from different angles.
Explore the 3D modelsCompare restorationsImplant placement in 3D
Selecting a component opens the exploded view.
The model loads only when you start it.
Rotate with a mouse or finger. Zoom with the mouse wheel, two fingers or the buttons. When the 3D view has focus, arrow keys also rotate the model.
At 50%, the root is visible through the gum. At 100%, you can see how the tooth emerges from the gum.
Schematic teaching cutaway. Colours and layer thicknesses are simplified; fine canal branches and microscopic details are not shown.
Simplified teaching model showing three components. A fixation screw and the complete internal connection are not shown. The exploded view explains the components; it is not a surgical or assembly guide.
Structure markers appear only in the separated view; the abutment is inside here.
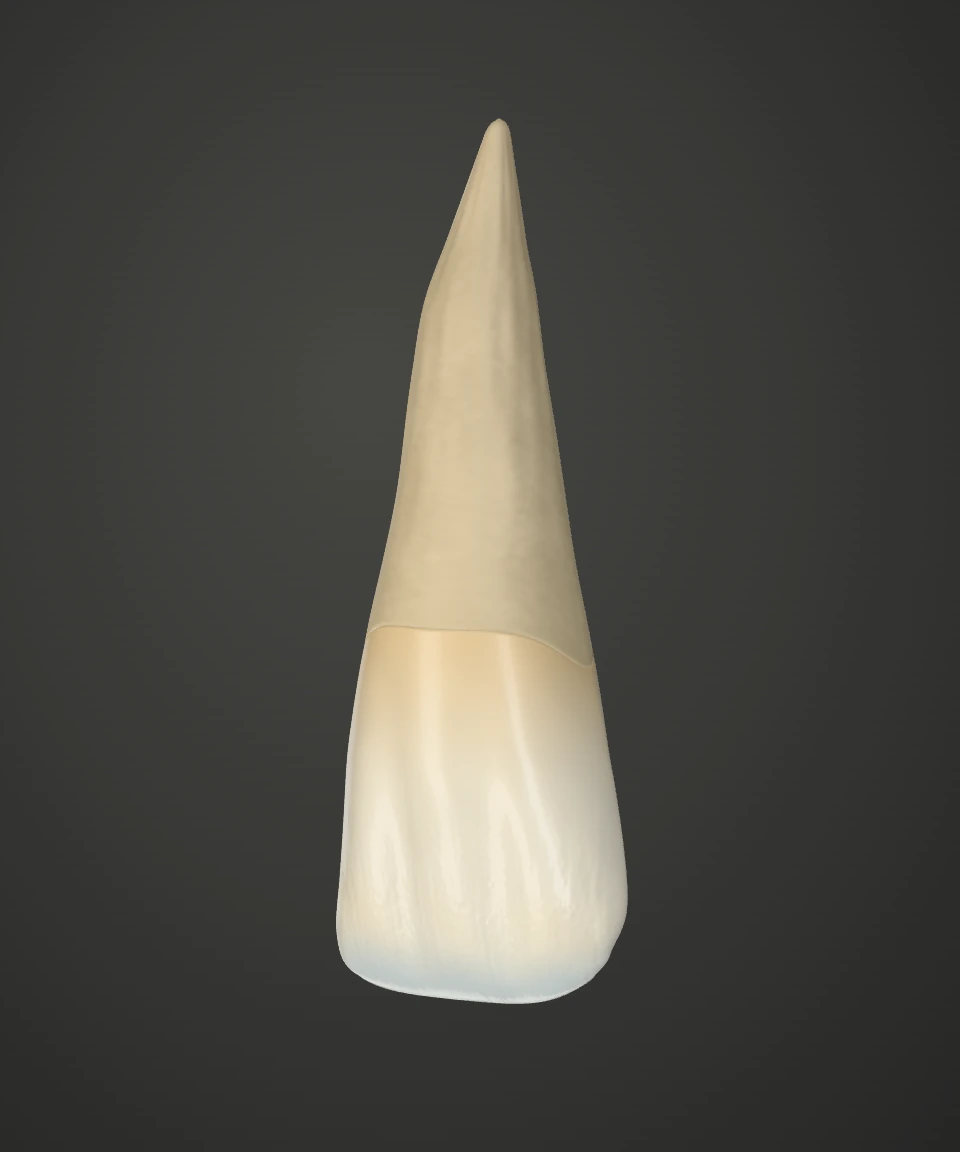
Incisor
These explanations remain fully available without the 3D view.
The incisal edge is the narrow edge of a front tooth. It is used to bite off food.
The natural crown is the part of a tooth normally visible above the gum. Its outer layer is enamel.
The tooth root lies within the jaw. Fine fibres of its supporting tissues connect the root surface to the surrounding bone.
Cutaway view
Dentine makes up much of the tooth. It lies beneath the enamel, continues into the root and surrounds the pulp.
Enamel is the hard outer protective layer of the natural tooth crown. It covers the dentine beneath it.
Blood vessels and nerves run through the pulp. The red part of the model shows how the pulp extends from the crown into the root canal.
Implant model
The abutment connects the implant body to the artificial crown. This connecting piece is often secured to the implant with a screw.
The implant crown replaces the visible part of the missing tooth. It is supported by the implant and is distinct from the implant body within the bone.
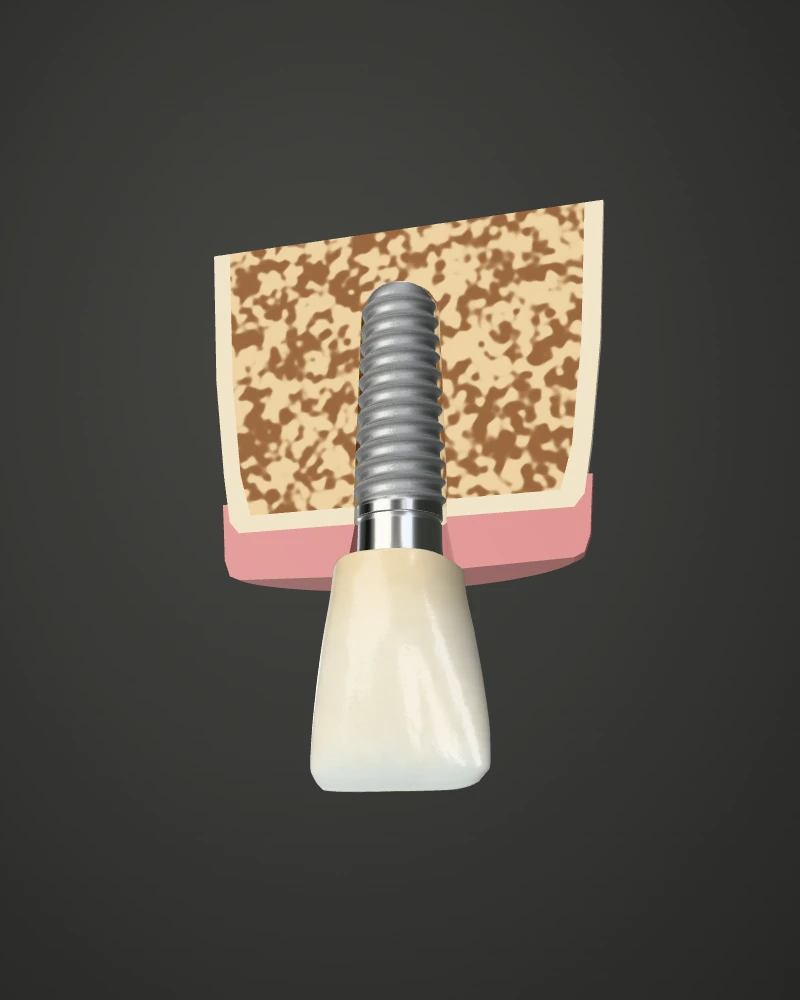
The implant body is placed in the jawbone to support the replacement tooth. Unlike a natural root, it has no dental pulp or periodontal ligament.
Compare how a veneer sits against a tooth, how a crown fits around it and what holds a bridge in place. The separated view reveals surfaces that are usually hidden.

Rotate with a mouse, touch or the arrow keys. Zoom with the plus and minus keys or the buttons. Select a number, the corresponding surface or its explanation.
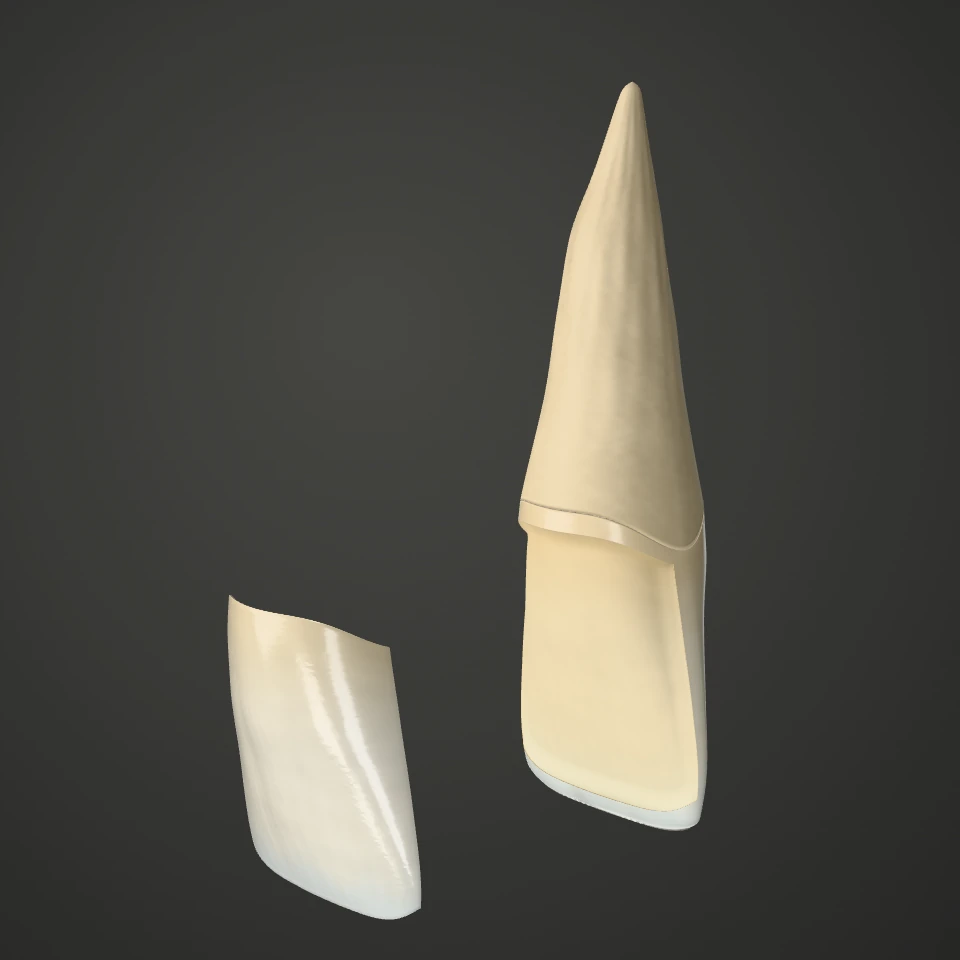
A thin ceramic shell changes the front surface of a tooth. In this model you can lift the shell away from the incisor.
An incisor with a thin ceramic shell lifted away from its front surface.The curved shell forms the new front surface. A side view shows how thin it is.
The veneer bonds to this surface. In this example, a small amount of enamel has been removed from the front of the tooth.
The natural root anchors the tooth in the jaw. It is exposed here to show its position in relation to the ceramic shell.
This zirconia ceramic crown fits around all sides of a prepared tooth above the gum. The natural root supports the restoration.
A separated zirconia front-tooth crown, the prepared tooth and its root.The crown is hollow inside. When seated, it surrounds the prepared tooth and gives it its outer shape.
The prepared tooth is what remains of the natural tooth crown after shaping. It supports the artificial crown.
The natural root lies below the prepared part of the tooth. It stays in the jaw when the crown is fitted.
An artificial tooth fills the gap between two natural teeth. Here, the neighbouring teeth support a three-unit bridge that lifts off as one piece.
A three-unit front-tooth bridge separated from two prepared natural teeth and their roots.The crowns at the ends fit over the supporting teeth. They are joined to the replacement tooth in the middle.
The middle unit fills the gap. It has no root of its own and is held by the crowns on either side.
The prepared neighbouring tooth supports part of the bridge. Its natural root remains in the jaw.
Here, three joined replacement teeth fill a gap at the front of the mouth. Two implants support the bridge, leaving the space beneath the middle unit free.
A three-unit front-tooth bridge with two separately visible abutments and implant bodies.The middle unit replaces a tooth between the two implants. All three visible teeth form one fixed unit.
This abutment connects the implant body to the bridge. The small connecting piece is easier to see in the separated view.
The implant body sits in the jawbone. Its thread distinguishes it from a natural tooth root in this model.
Choosing 50% or 100% gum tissue assembles the restoration. The separated view shows its individual parts. The jawbone is omitted from these four models.
Implant placement in 3D
Follow one possible treatment sequence in the upper jaw. The model shows healing beneath the gum, followed by uncovering the implant. Select a step to change the view.
Rotate with your mouse, finger or the arrow keys. You can also select each treatment stage directly using the buttons.
After assessment and planning, the implant is placed in the jawbone. It will later support the visible replacement tooth. The cutaway shows where the artificial root sits.
During healing, the aim is for bone to bond firmly to the implant surface. The implant may initially heal beneath closed gum tissue or with a healing cap visible above the gum. Progress and timing are assessed individually.
A temporary healing abutment helps shape the gum around the future replacement tooth. After submerged healing, the implant is uncovered for this purpose. With open healing, the healing abutment may already be fitted when the implant is placed.
An intraoral scan can record the surrounding shapes digitally. A compatible scan body identifies the implant position for designing the crown. This is an alternative to a conventional impression.
With a conventional impression, an impression coping transfers the position of the implant into the impression. The laboratory can use this to make a model for the crown. A digital scan is another way to record the same information.
The final connecting piece, the abutment, supports the crown and is screwed into the implant in this example. Depending on the restoration, the abutment and crown may be separate parts or a unit joined beforehand.
In this option, a screw connection secures the restoration to the implant. The access opening through the crown is then sealed with filling material and can be reopened by the dental team if needed.
After the screw is secured, the access opening in the crown is sealed with filling material. On this front tooth, the opening faces the palate.
Here, the abutment remains screwed into the implant. The crown is attached to this abutment in the mouth with dental cement. Excess cement must be professionally removed. This is an alternative to a screw-retained crown.
Our models are simplified educational illustrations. They show typical relationships, not a patient scan or an individual treatment plan. Natural shapes, colours and proportions may vary.
The 3D file for the selected view loads only after activation. The models are served locally from our website. The explanations remain readable without 3D.
Rendered with Three.js · MIT licence.